
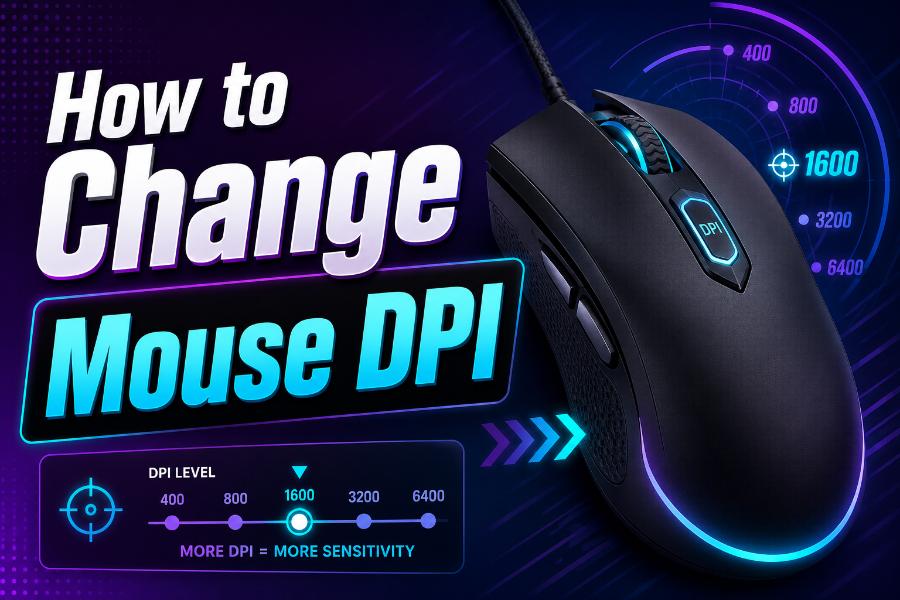
Learning how to change mouse DPI can make desktop work feel more comfortable and gaming control more predictable. A higher DPI moves the pointer farther for the same physical mouse movement. A lower DPI requires more hand movement and can make fine corrections easier. The ideal value depends on screen size, available desk space, mouse control, software sensitivity, and the type of game or work you do.
The correct method depends on the mouse. Gaming mice usually offer a DPI button and official software. Basic office mice may have fixed sensitivity or only a few hardware presets. Windows and macOS can change pointer speed, but that is not the same as changing the sensor’s hardware DPI. This guide explains every common method and shows how to adjust settings without losing consistency.
What Changes When You Adjust DPI?
DPI controls the number of sensor counts reported per inch of physical movement. If you change from 800 DPI to 1600 DPI while leaving every software setting unchanged, the pointer or game camera will generally move about twice as far for the same hand movement. Reducing from 1600 to 800 has the opposite effect.
The change affects any program that uses the mouse input, but the final feel also depends on operating-system pointer speed, acceleration, application zoom, and in-game sensitivity. Some games use raw input and respond mainly to hardware DPI and their own sensitivity scale. Desktop applications usually pass through operating-system settings.
DPI does not improve sensor accuracy automatically. A high maximum number on a product box is not a requirement for good performance. The useful goal is a controllable setting that fits your movement range and lets you complete tasks without strain or repeated corrections.
Method 1: Change DPI with the Mouse Button
Look for a small button near the scroll wheel, behind the main buttons, or on the underside of the mouse. It may be labeled DPI, CPI, +, -, or with a speed icon. Pressing the button usually cycles through preset stages. Some mice use one button to move upward through the list, while others provide separate increase and decrease buttons.
Watch for an LED color change or on-screen notification. The color may represent a specific value, but the mapping differs by model. Consult the manual or official support page to learn the stages. Avoid assuming that red always means one value or blue means another because manufacturers use different systems.
After selecting a stage, move the pointer slowly and confirm that it feels different. In a game, test turning and small target corrections before entering a competitive match. If accidental presses occur, use the mouse software to disable the DPI button or reassign it after choosing your preferred stage.
Method 2: Change DPI with Manufacturer Software
Official configuration software provides the most control. Install the utility from the manufacturer’s support page, connect the mouse, and select it in the device list. Open the Sensitivity, Performance, or DPI section. You may see a slider, numerical field, or several colored stages.
Enter the desired value or drag the slider. Many gaming mice let you choose increments such as 50 or 100 DPI. Delete unused stages so the DPI button cannot cycle to unwanted values. Keep one or two practical stages instead of a long list. You can also link horizontal and vertical sensitivity to prevent uneven movement.
Save the settings to the active profile. If the mouse supports onboard memory, copy the profile to the device so the DPI remains available without the software. Confirm whether automatic game profiles are enabled. A desktop profile and a game profile can use different values, which is useful when intentional but confusing when forgotten.
Method 3: Use Onboard Memory
Onboard memory stores settings inside the mouse. It is valuable when you use several computers, attend gaming events, or cannot install software on a work or school device. Configure the DPI on a supported computer, open the onboard-memory section of the utility, and save the profile to an available slot.
After saving, close the software or connect the mouse to another computer and test the stage. Some features work only while the software is running, but basic DPI values and button assignments often remain. The exact behavior depends on the model.
When multiple onboard profiles exist, learn how to switch between them. A profile button on the underside may cycle through stored configurations. Label the profiles in your notes, and avoid storing several nearly identical profiles because it becomes difficult to identify which one is active.
Can You Change DPI in Windows Settings?
Windows Settings can change pointer speed, but it normally cannot rewrite the hardware DPI of a generic mouse. Open Settings, select Bluetooth & devices, and choose Mouse. Adjust Mouse pointer speed to make the desktop cursor move faster or slower. This is a software multiplier.
For classic options, open Additional mouse settings and select Pointer Options. The slider changes pointer speed, and Enhance pointer precision adds acceleration. For predictable gaming input and calibrated DPI measurement, many players use the neutral slider position and disable Enhance pointer precision. Games using raw input may ignore these Windows controls.
Use Windows pointer speed when the mouse has fixed DPI and you only need a more comfortable desktop cursor. Use manufacturer software when you need the hardware value changed for consistent behavior across applications or games.
Can You Change DPI on macOS?
macOS System Settings provides a tracking-speed control rather than a universal hardware DPI control. Open System Settings, choose Mouse, and adjust Tracking speed. This changes how the pointer responds to the mouse input. It can solve a comfort problem, but it does not necessarily change the sensor’s stored DPI.
For a compatible gaming mouse, install the manufacturer’s macOS utility and adjust DPI there. If no macOS utility exists, configure the mouse’s onboard memory on a Windows computer, then reconnect it to the Mac. Hardware buttons may also cycle through preset stages without any software.
Third-party mouse utilities can alter tracking curves, acceleration, or button behavior. Use them carefully and change one setting at a time. Keep a note of the original configuration so you can return to it if the pointer becomes inconsistent.
How to Change DPI for Gaming
Choose a starting DPI such as 400, 800, or 1600, then adjust in-game sensitivity to reach a controllable turn distance. These are common starting points, not rules. A player with limited desk space may prefer a higher setting, while a tactical-shooter player with a large pad may prefer a lower effective sensitivity.
When changing DPI but wanting the same in-game feel, adjust the game sensitivity inversely. If you double DPI from 800 to 1600, halve the in-game sensitivity as a starting calculation. Within the same game, this often keeps effective DPI and physical turn distance similar. Verify with a measured 360-degree turn because rounding and game behavior can introduce small differences.
Record scoped, aim-down-sights, vehicle, and menu sensitivities separately. Some games use multipliers or independent settings. Test hip-fire, tracking, close turns, and fine long-range corrections before deciding whether the new DPI is comfortable.
How to Choose a New DPI Value
Start by identifying the problem. If you overshoot icons or targets with tiny hand movements, reduce DPI or software sensitivity. If you repeatedly lift the mouse, run out of pad space, or cannot turn quickly enough, increase the effective sensitivity. Do not change settings simply because another player uses a different number.
Change in moderate steps. A jump from 800 to 3200 DPI creates a dramatic difference and makes evaluation difficult. Try a 10 to 25 percent change, use it for several sessions, and note whether micro-corrections and large movements both improve. For office work, test selecting small text, dragging windows, and moving across multiple monitors. For games, test several weapon ranges and movement situations.
Keep the value stable once it meets your needs. Repeated changes can make normal performance variation feel like a settings problem. A consistent setting gives your motor system time to adapt.
Adjust DPI for High-Resolution and Multi-Monitor Setups
A higher-resolution display contains more pixels, so the pointer may feel slower when crossing the screen at the same hardware and software settings. Multi-monitor setups also require longer travel, especially when monitors are arranged side by side. Increasing DPI or pointer speed can reduce the amount of physical movement required.
However, screen resolution alone does not determine the correct value. Display scaling changes the size of interface elements, and macOS and Windows handle pointer movement differently. Increase the setting only enough to make navigation comfortable while preserving control over small targets.
If gaming on one monitor and working across several, use separate profiles. A desktop profile can use a faster cursor, while a game profile keeps the sensitivity needed for accurate camera control. Automatic application switching is convenient, but verify that it activates reliably.
Fix a Mouse DPI That Will Not Change
If the DPI button has no effect, check whether it was disabled or reassigned in software. Open the button-assignment page and restore its DPI function. Confirm that more than one stage exists. A button cannot cycle if the profile contains only one active value.
If software changes do not apply, select the correct device and profile, run the utility with appropriate permissions, and save the setting. Disconnect and reconnect the mouse, try another USB port, and restart the configuration app. Update the app and official firmware when available. Wireless models should have sufficient battery and a stable receiver connection.
For onboard memory, make sure you are editing the memory profile rather than a software-only profile. If the mouse is a basic fixed-DPI model, hardware DPI may not be adjustable at all. In that case, use operating-system pointer speed or replace the device with an adjustable model if precise hardware control is necessary.
Prevent Accidental DPI Changes
Accidental DPI changes are common during intense games or fast work. Remove unwanted stages in software so the button cycles only between values you actually use. You can keep a single stage and disable the button completely.
Reassign the DPI button to a harmless function, or disable it, after saving the preferred value to onboard memory. If the button is located under the mouse, profile switching may be less likely to happen accidentally. Some mice offer a lock or persistent-profile mode.
When the pointer suddenly feels wrong, do not immediately change the game sensitivity. First press the DPI button through its known stages or check the software indicator. Confirm the active profile, then restore the intended setting. This prevents one accidental button press from causing several unnecessary adjustments.
A Safe Process for Testing Changes
Write down the original DPI and software settings before changing anything. Adjust one variable, then use a repeatable task. On the desktop, move between two small icons, select text, and drag a window. In a game, perform a measured turn, track a moving target, and make several small corrections at long range.
Use the new setting for enough time to move beyond the initial unfamiliarity. Ten seconds is not enough to judge a moderate change, but you also do not need to force an obviously uncomfortable value for weeks. A few practice sessions usually reveal whether the setting solves the original problem.
If the change fails, return to the documented baseline rather than guessing. Make a smaller adjustment in the correct direction. This controlled process protects consistency and helps you understand which layer—hardware DPI, operating-system speed, or in-game sensitivity—actually needs work.
Frequently Asked Questions
Does every mouse have adjustable DPI? No. Many gaming mice and some productivity mice offer adjustable DPI, while basic mice may use one fixed hardware value.
Is changing Windows pointer speed the same as changing DPI? No. Windows pointer speed changes software scaling. DPI is a hardware sensor setting, normally changed with a mouse button or manufacturer utility.
What happens if I increase DPI? The pointer or camera generally moves farther for the same physical motion unless you reduce software sensitivity to compensate.
Can I use different DPI values for different games? Yes. Manufacturer software may support automatic profiles. Keep clear notes so you know which value is active and avoid unexpected switching.
Will higher DPI make me more accurate? Not automatically. Accuracy depends on control, sensitivity, sensor performance, posture, and practice. A useful DPI is one that supports both large movements and fine corrections.
Conclusion
The best way to change mouse DPI is through the mouse’s official software or its dedicated DPI button. Save the chosen value to the correct profile and onboard memory when available. Remember that Windows and macOS tracking controls adjust software pointer speed rather than universally changing hardware DPI.
Make controlled changes, record the original setup, and test the result in real tasks. Once you find a comfortable value, keep it consistent. A stable DPI combined with suitable operating-system and in-game sensitivity gives you predictable movement and makes future troubleshooting much easier.
Approximate article word count: 2,070 words